Sunday, April 18, 2010

FINAL PROJECT!


Final Project :    

(Re) collection of Objects:

A Biographical-Wearable Sculpture

1. Recognition of a Problem: The purpose of this project is to apply design concepts and strategies researched along the course in the construction of a “biographical” and wearable sculpture. 

2. Definition of a Problem: Create a three-dimensional abstract or representational sculpture departing from the multiplicity of one or diverse found/collected objects.

Your  Wearable-Sculpture will be based:

A) Conceptually, in a biographical, self-referential narrative.

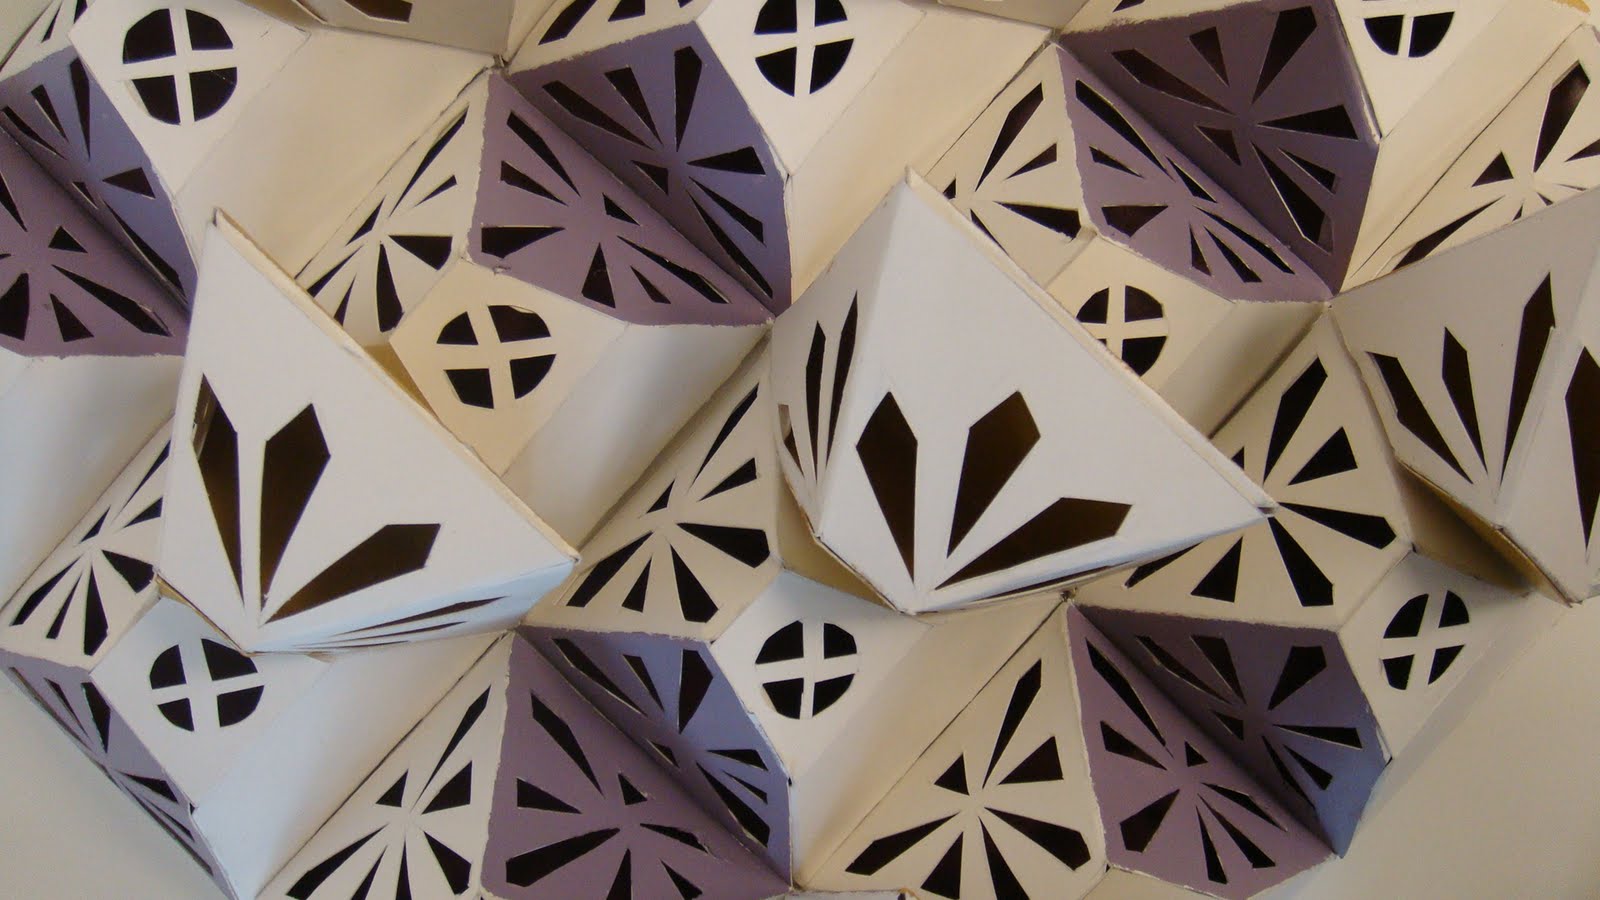
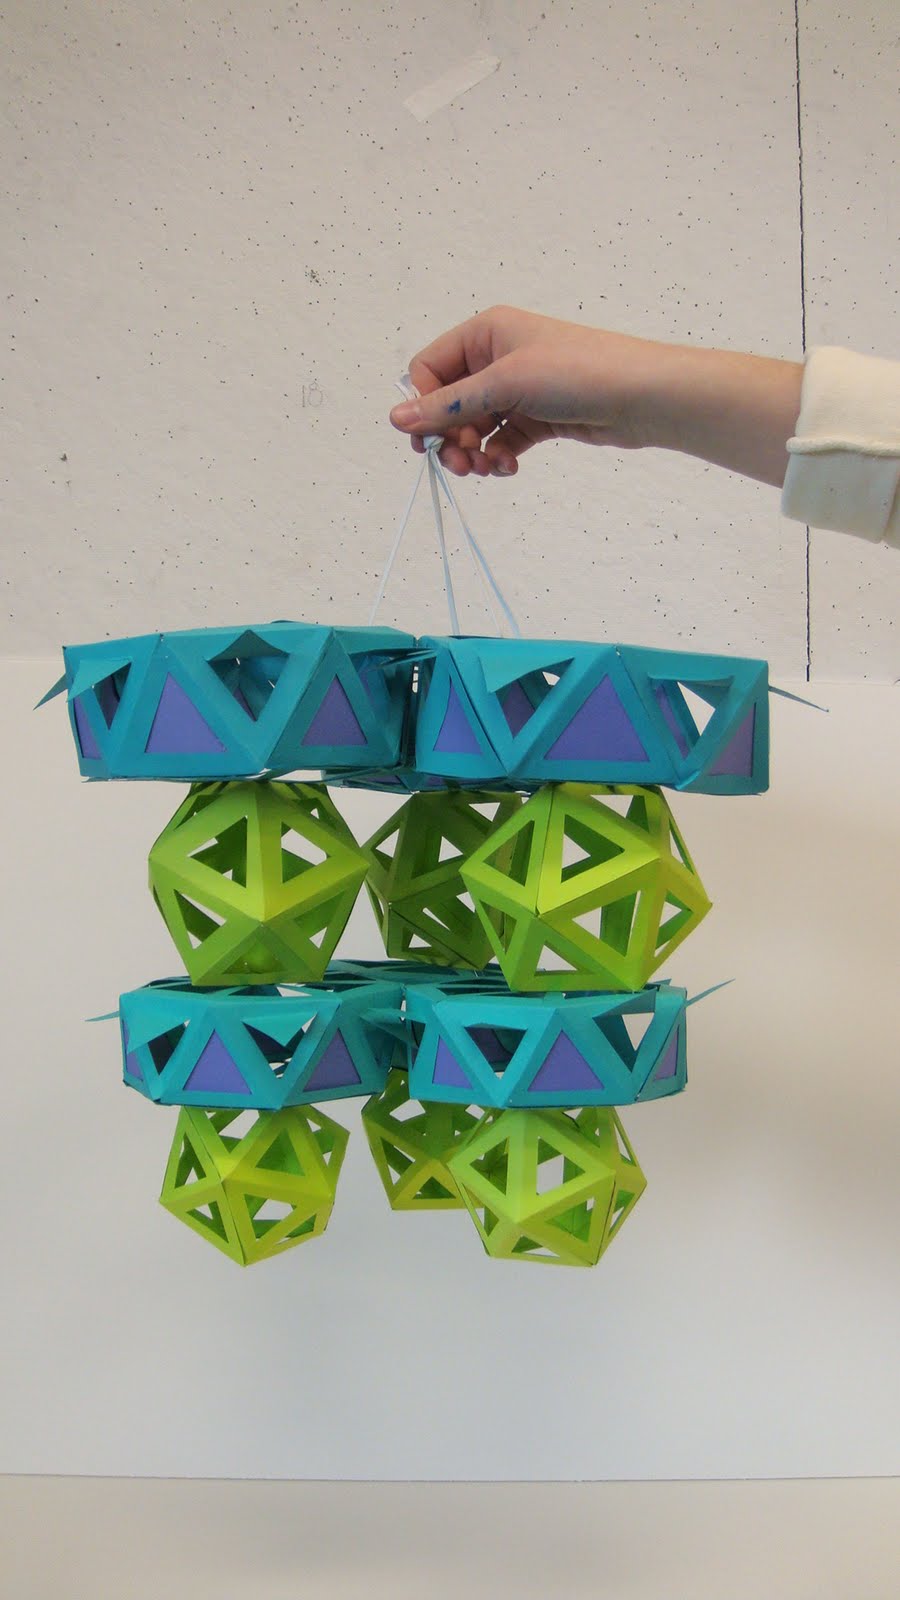
B) Aesthetically and Structurally, in the application of serial planes, polyhedral units, or the combinations of this deconstruction, construction or reconstruction strategies researched in class based on recycling found object. 

While designing the piece, consider the concepts of negative space, rhythm, pattern, mass and gravity, balance, unity, harmony, emphasis, etc.

The overall size will depend on each student’ project, based in the concept and materials used and the scale in relation to your own body.

This is to be reviewed with instructor along the process.


3. Research and Preparation:

·       Take notes on the videos and artists slide shows presented in class.

·       Research on artists working with found objects, and wearable sculptures. Take notes, sketches, print out information of the ones that you feel related to in conceptual and/or aesthetical terms.

·       Collect materials that you feel may be conceptually meaningful and structurally suitable in the construction of your piece.


4. Analysis

·       You should develop several sketches. Evaluate these sketches and synthesize your ideas.

·       Based on your sketches and concepts, begin to explore your ideas three dimensionally now, based on the materials collected and applying 3D Design elements and principles.


5.     Synthesis

Synthesize your sketch models into a final concept. Keep in mind that the design will continue to develop along construction.


6.     Evaluation:

Evaluate the final design based on the handouts (problem to be solved) and the principles and elements of design.  Make sure that your final design meets all of the project requirements.


7.     Presentation

·       Be sure that the instructor has reviewed your final sketches and discussed the concept.

·       Work neatly and accurately. Quality and craftsmanship is important to the overall design.


8.  Implementation:   

·       Turn in all sketches and sketch models on the day of presentation.

·       Each student will give a brief oral presentation.

·       You have to write a brief reaction paper about your concept in which the project will be based as well as on the development and final outcome of your project

·       Take photos of your sketch models in the order that you developed them. Take photos of your final project from a variety of views.

·       Place/Post the photos, sketches and reaction paper in your Notebook/ Blog

YOU SHOULD BRING YOUR SCULPTURE FOR CRITIQUE ON FINAL EXAM DATE 

IMPORTANT:  PHOTO DOCUMENTATION AND REACTION PAPER SHOULD HAVE BEEN POSTED ON LINE / OR FOLDER HANDED IN PRIOR YOUR EXAM DATE.

FAILURE TO DO SO, WILL AFFECT YOUR FINAL GRADE


YOUR FINAL PROJECT will be evaluated based on:

·      Concept

·      Creativity                         

·      Craftsmanship                        

·      Application of Elements and Principles of Design


Preliminary Design

·      Research

·      Preliminary concepts - sketches

·      Preliminary concepts - sketch models

Design Development

·      Use of studio time

·      Use of homework time 

Oral Presentation

·      Class presentation

Notebook/ Blog Requirements

·      Photographs: Documentation of process and You wearing the final outcome.

·      Reaction paper.

Saturday, April 3, 2010


Project 3 : Polyhedral Structures Phase 2 

SECTION 1 & 3: Packaging Design

1. Recognition of a Problem: The purpose of this project is to apply polyhedral structures using additive methods to create a Packaging Design of an existing or imaginary product.


SECTION 4: Wall Structures

1. Recognition of a Problem: The purpose of this project is to apply polyhedral structures using additive methods to create a Wall Structure .


ALL SECTIONS:

2. Definition of a Problem:

·       Create a three-dimensional form based on polyhedral units.

·       The form should be free standing

·       It must include negative space in each unit to emphasize rhythm and pattern

·      You must apply a COLOR SCHEME according to the concept of your design

Size requirements:

PACKAGING: Will depend on product you have chosen.

WALL STRUCTURES: At least 12”x12”x 2”.

Materials

Bristol board, color, printed or painted paper,  translucent materials may be incorporated into this project.

3. Research and Preparation:

·       Look to the natural and built environment for ideas and inspiration.

·       Use white or colored bristol board or another semi-rigid paper that suits the construction method for your design.


4. Analysis

·       You should develop at least 5 sketches.

·       Based on the sketch concepts, explore your ideas as sketch as 3D models in bristol paper.


5.     Synthesis

·       Synthesize your sketch models into a final concept. Keep in mind that the design will continue to develop even as you begin to construct the final form.


6.     Evaluation:

Make sure that your final design meets all of the project requirements.


7.     Presentation

·       Be sure that the instructor has reviewed your final sketch model.

·       Use bristol board or any other material that meets the design need.

·       Use tape and adhesives that best suit your materials.

·       Work neatly and accurately. Quality and craftsmanship is important to the overall design.


8.     Implementation: 

In your BLOG or FOLDER you should post/ include:

·       Sketches and research images.

·       Photographs of the outcome of PHASE 1 of the project (Various views)

·       Photographs of the outcome of PHASE 2 of the project (Various views)

·       1 Paragraph describing your approach in solving the problem

(Explain why you have chosen this kind of polyhedral/s, relationship between them, color scheme applied, etc)


Wednesday, March 10, 2010


PROJECT 3
Phase A:
Polyhedral Structures
Study Models

 
This project is a study for a larger scale project. 

1. You will create 3 polyhedral forms and assemble them into an interesting sculptural form.  
2. You must also incorporate negative space to introduce rhythm, pattern and interior space.

3. You will introduce the use of a Color scheme in your design


FOLLOW INSTRUCTIONS TO BEGIN


1.  Visit  http://www.korthalsaltes.com/


and researching paper polyhedral models and polyhedral base designs.
 
2.  Choose at least three different models and print out the PDF files.
 
3.  Transfer the patterns to Bristol paper.
 
4.  Cut out the pattern and before folding and gluing it together cut negative shapes and patterns into each form.
 
5. Compose these forms into an interesting sculptural form.


6. You MUST use color
 (color paper, translucent paper, acrylic paint, tempera, printed or texture paper,  collage, etc)

7. You may use additional forms  to make your project more interesting.


FOR FIRST CLASS AFTER SPRING BREAK:

section 1: Monday March 22nd

section 3/4: Tuesday March 23rd


you should bring templates PRINTED to work on in class , pencil and exacto knife.


HAVE A GREAT SPRING BREAK!

Monday, February 22, 2010


Project 2  [Phase 2]

Serial Plane Study

 Critique & Folders/Blogs Due

Section 1: March 8th

Sections 3 & 4:  March 4th


1.     Recognition of a Problem:

The purpose of this project is to apply serial planes concepts and the principles and elements of design to the creation of a white foam board- 3D form using additive and subtractive methods.


2.     Definition of the Problem: 

Create a three-dimensional abstract or representational form that is a minimum of 12”x12”x12” using white foam core board.

·       The form can be free standing, hanging or mounted on a base (the design of the base/way in which the work would be installed should enhance the created form).

·       Incorporate repetition and gradation of size and/or shape.

·       You must include in some area of your design an opening to reveal the interior space construction, and in this way, explore the positive and negative space possibilities within your design.

While thinking/ sketching your design, keep in mind that the edges of the foam core will create lines, the layering of the planes will create a volume with positive and negative space, and natural and artificial light will create gradation and shadows.

3.     Research and Preparation

·       Research three-dimensional art forms and objects that use the concept of serial planes or similar construction. You may use the internet, books from the library, magazines, newspapers or your own photographs to research imagery. Be sure to search your own surroundings, we exist everyday with hundreds of object forms.   You must collect at least 10 good research images as reference before beginning sketching/constructing your project.

·       Gather together all the supplies you will need to begin the projects in class. Remember to use the cutting mats for easier cuts and better results while cutting foam boards. Have always in hand several new blades for x-acto knives.

·       Set up a work area at home where you can spread out your work. If you do not have adequate space at home or in your dorm, work out some schedule to use room 201 using open studio hours.

4.     Analysis

The analysis of your project will consist of the following: 

·       Altered Books – Project 2 [ Phase 1 ]. Your and your classmate’s designs, as well as issues discussed during critique, should be used as reference for the sketching/ designing the second Phase of Serial Planes project.

·       Sketches : Based on your book project, the research images you have collected and the images shown in class create at least 5 rough sketches.  Of these sketches choose 2 or more of the most interesting designs to develop them further. Reproduce larger more detailed drawings.

·       Sketch models – Choose the most interesting large sketches to create sketch models.  Compose your models at a scale of about 2x2x2 inches using Bristol board, card- board or foam core. Play with the forms. Build them and then pull them apart to look at other possible designs. Brainstorm!

5.     Synthesis

Synthesize your sketch models into a final sketch model design by incorporating one or more parts of each design (if appropriate) into a final design.

6.     Evaluation

Evaluate the final sketch model design based on the principles and elements of design lectures, class discussion and project requirements. Make sure your solution meets all the project requirements, especially the minimum size of 12”x12”x12” and the opening that reveals the interior construction.

7.     Presentation

·       From the final sketch model construct your final design out of the foam core. Calculate the number of shapes you will need and figure out the best way to transfer them to the foam core using the maximum amount foam core (least amount of scrap).

·       Be sure that the instructor has reviewed your final sketch model design.

(Note: during the final construction process you may find that revisions are necessary or desirable. Be prepared to use extra foam core).

·       You will be given 2 pieces of white foam board plus a piece for sketching.  You may purchase additional foam board if you wish to develop a larger piece.  This board may be a color other than white but no more than one additional color may be used. For example: White/black, white/red, white /blue, etc.

·       Use adhesives that work best for your design. Consider the importance of craftsmanship throughout the construction of your project.

·       You will need to change knife blades often to keep edges straight and smooth. Use sandpaper or a nail file to smooth rough edges.

8. Implementation

·       Each student will give a brief oral presentation. You are to explain how you applied serial plane concepts and the principles and elements of design to your final design. Discuss developments in the design process that you didn’t expect, were troublesome, or unusual. Finally discuss your successes and what you have learned in the process.

·       Design Notebook/blog:

Label the second Divider/Post: Project II: Serial Planes.

Place the following materials in chronological order:

Phase A: Altered Books:

Sketches (if available)

Photographic Documentation of the process


Phase B: White Serial Planes Sculpture/ Object

Sketches: Drawings and 3D models

Photographic Documentation of the process

NOTE: Take photos of your final projects from a variety of views.


Reaction Paper

In this reaction paper, you will talk about your experiences in both phases of the project.

You may mention about your research on “Serial Planes” structures/ sculptures/buildings, how did you approach the projects, make reference to Maya Lin’s work, etc.

Talk about what your learning outcome in each phase and the project as whole.


AT 104: Basic Design II


Project 2: Serial Plane Study – Evaluation


Phase 1:  Altered Books


Your project will be evaluated in terms of:


·      Concept

·      Craftsmanship

·      Oral presentation

·      Notebook / Blog:

- Photo Documentation of process


Phase 2: Foam board Project


Preliminary concepts

·      sketch/ models


Final Design:


·      Creativity                         

·      Craftsmanship                        

·      Application of Elements and Principles of Design


Design Development


·      Oral Presentation

·      Notebook / Blog:


- Sketches and Photographic Documentation of process

- Reaction Paper including comparative studies of both phases of Serial Planes Project.